Creating Your Free Scratch Account
In this lesson, you will create your free account on scratch.mit.edu. Having an account lets you save your projects, share them with others, and access your work from any device.
Step 1 — Go to the Scratch Website
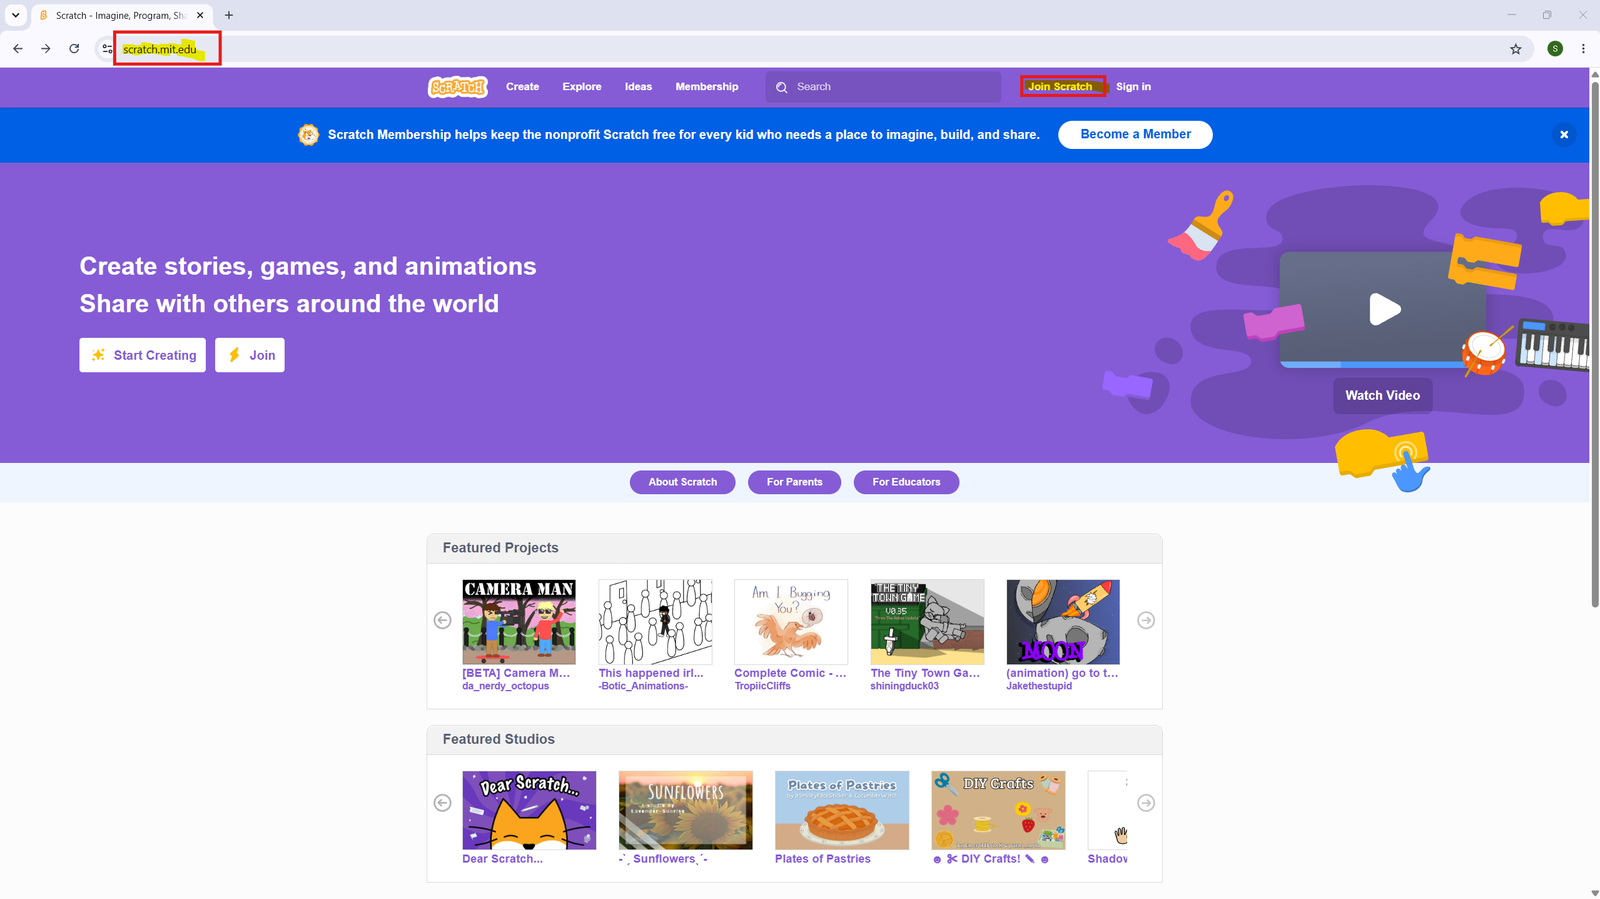
Open any web browser (Chrome, Edge, Firefox) and type scratch.mit.edu in the address bar. Press Enter. Once the homepage loads, click the “Join Scratch” button at the top-right corner of the page.
Step 2 — Choose a Username and Password
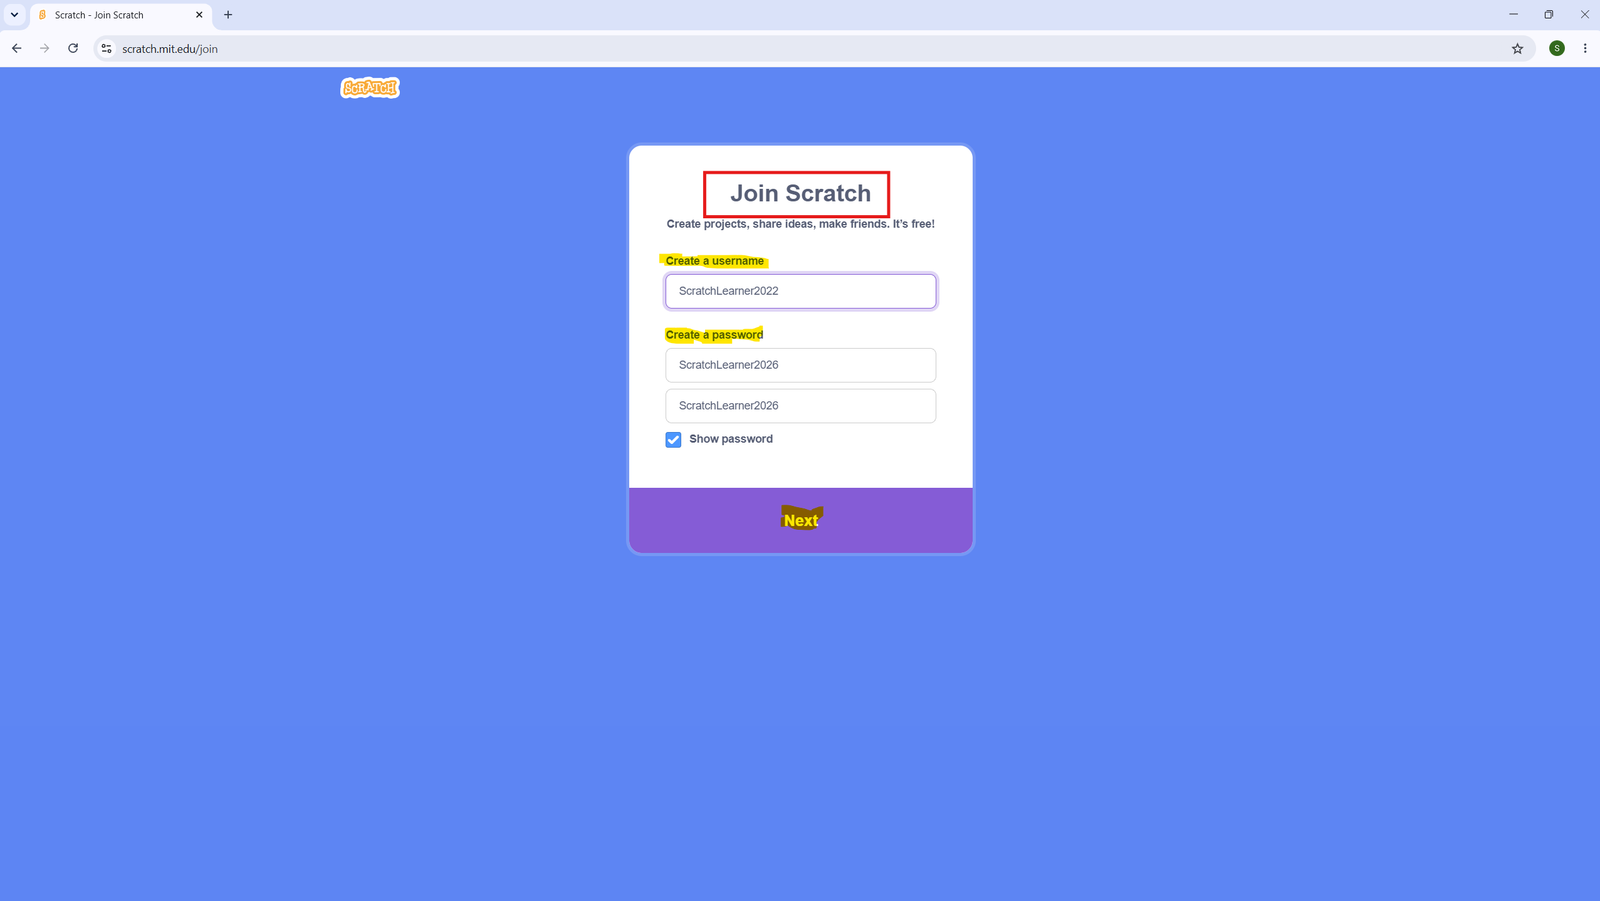
You will see a form asking you to create a username and password.
- Username: Choose a fun name — but do not use your real name. Example: ScratchLearner2099
- Password: Choose something you will remember, and type it twice to confirm.
Click Next when done.
Step 3 — Select Your Country
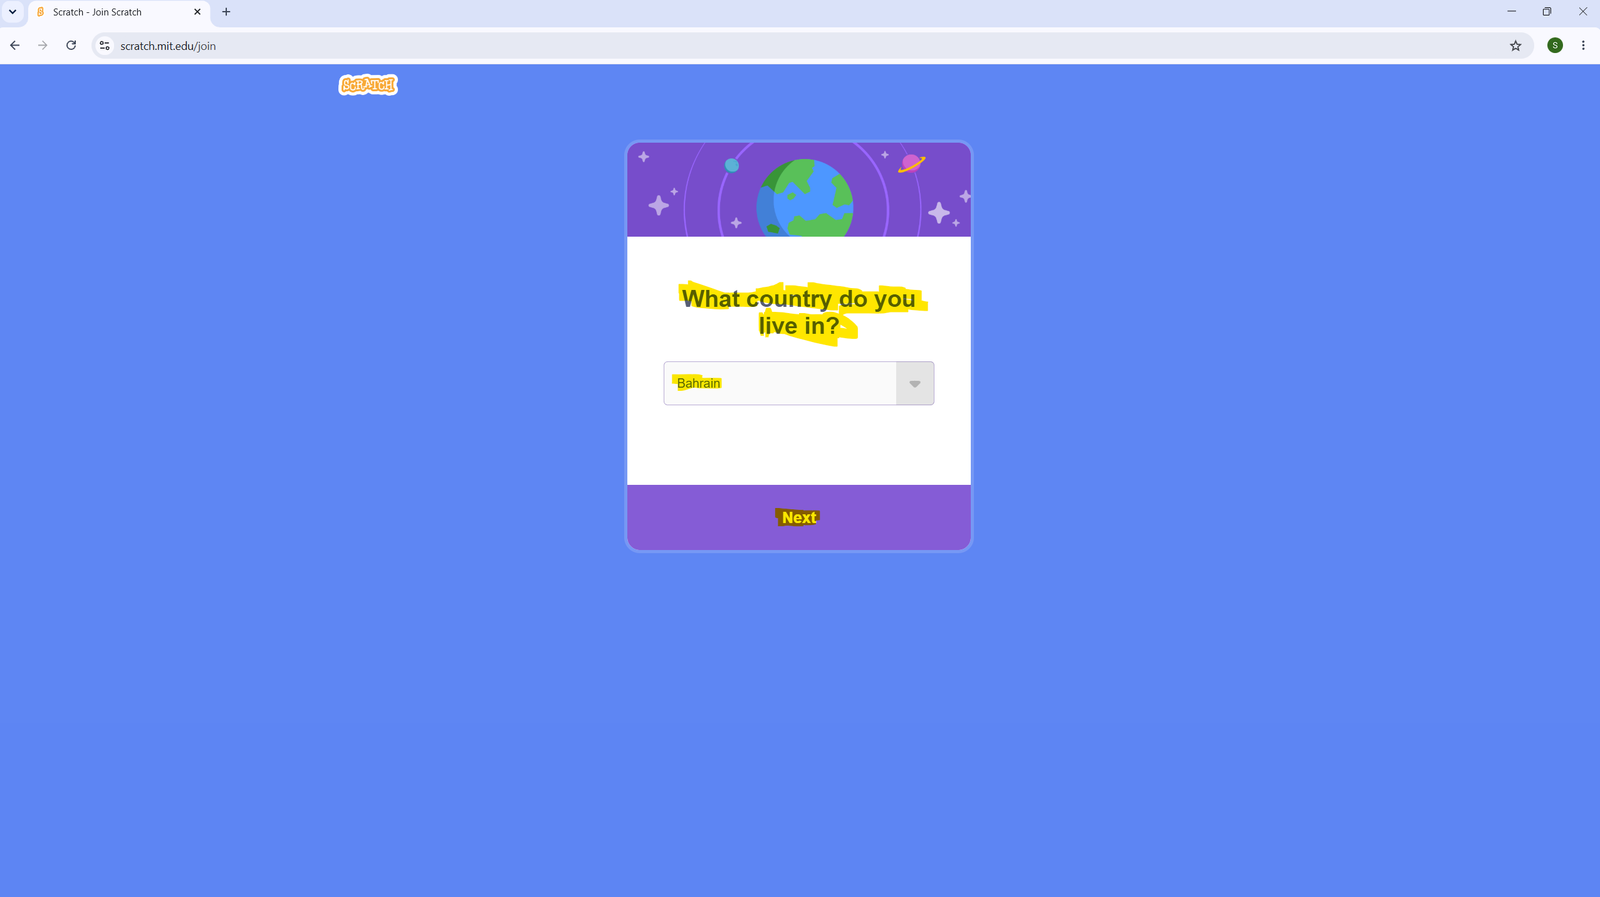
Scratch will ask: “What country do you live in?” Click the dropdown and select your country from the list. Then click Next.
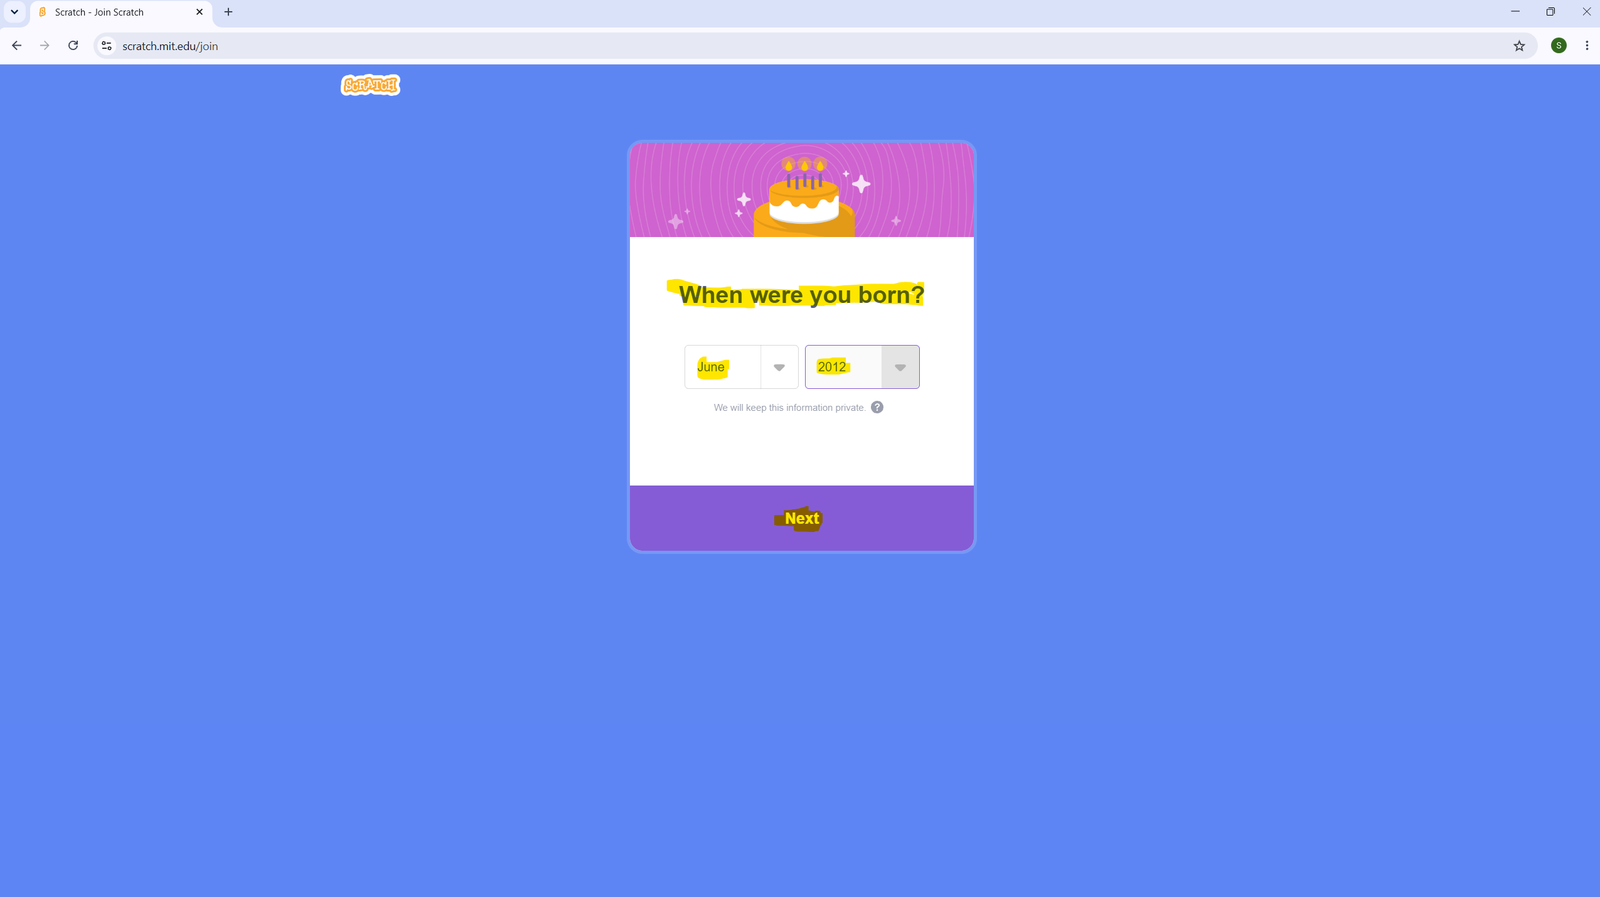
Step 4 — Enter Your Date of Birth
Select your birth month and year from the two dropdowns. Scratch keeps this information private — it is never shown to other users. Click Next.
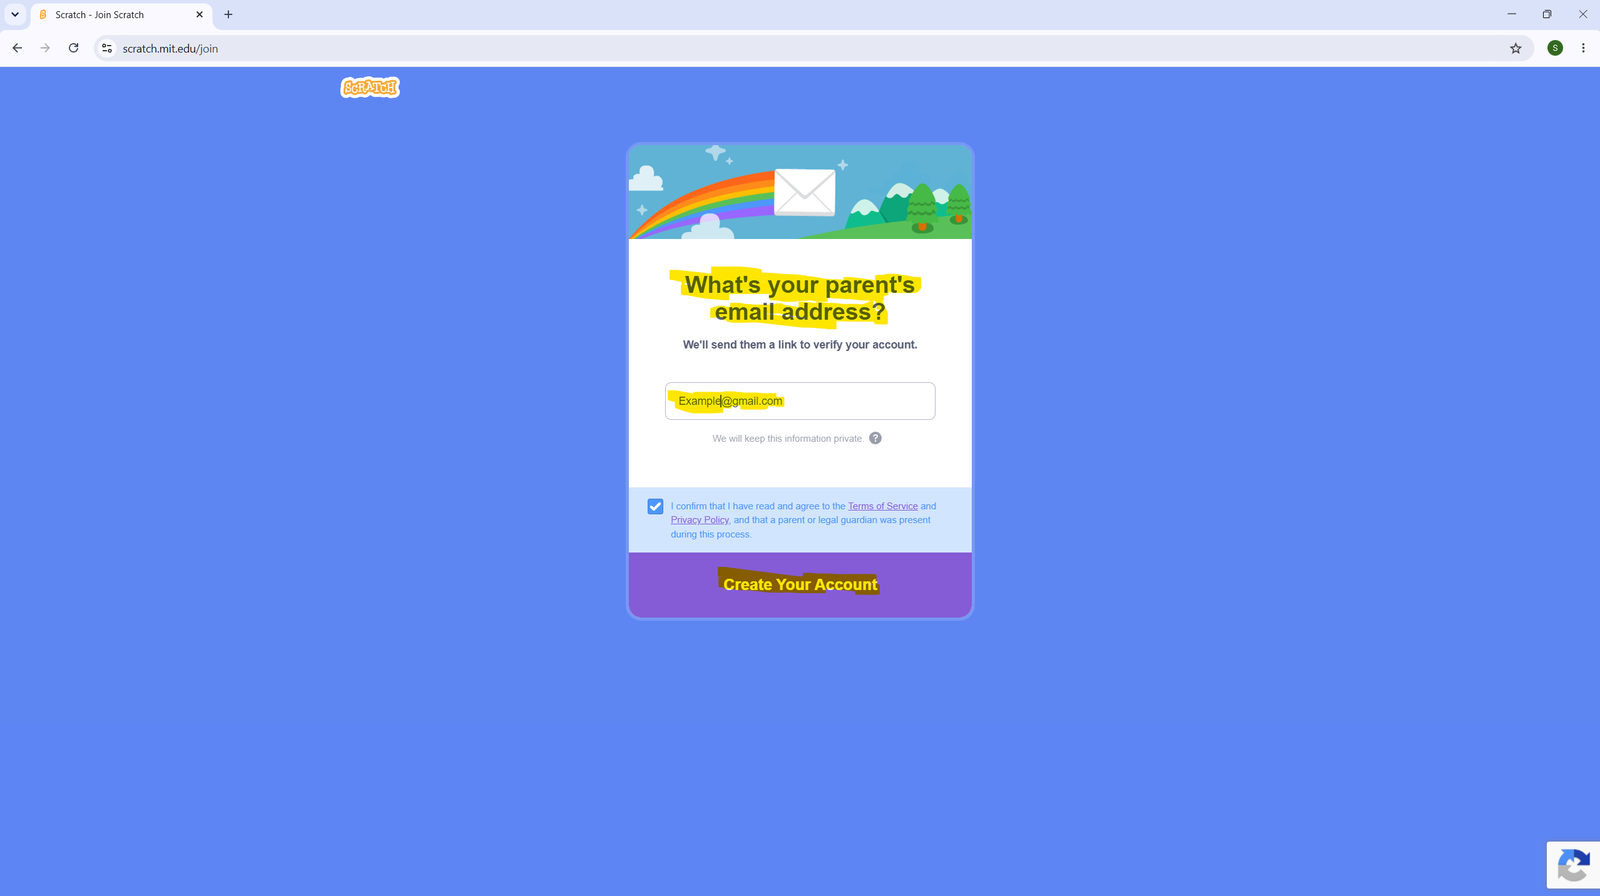
Step 5 — Enter a Parent or Guardian Email
Scratch will ask for a parent or guardian’s email address. This is used only to confirm your account. Type the email address carefully, then click Create Your Account.
Step 6 — Your Account is Created!
You will see a welcome screen saying “Welcome to Scratch” This means your account was created successfully.
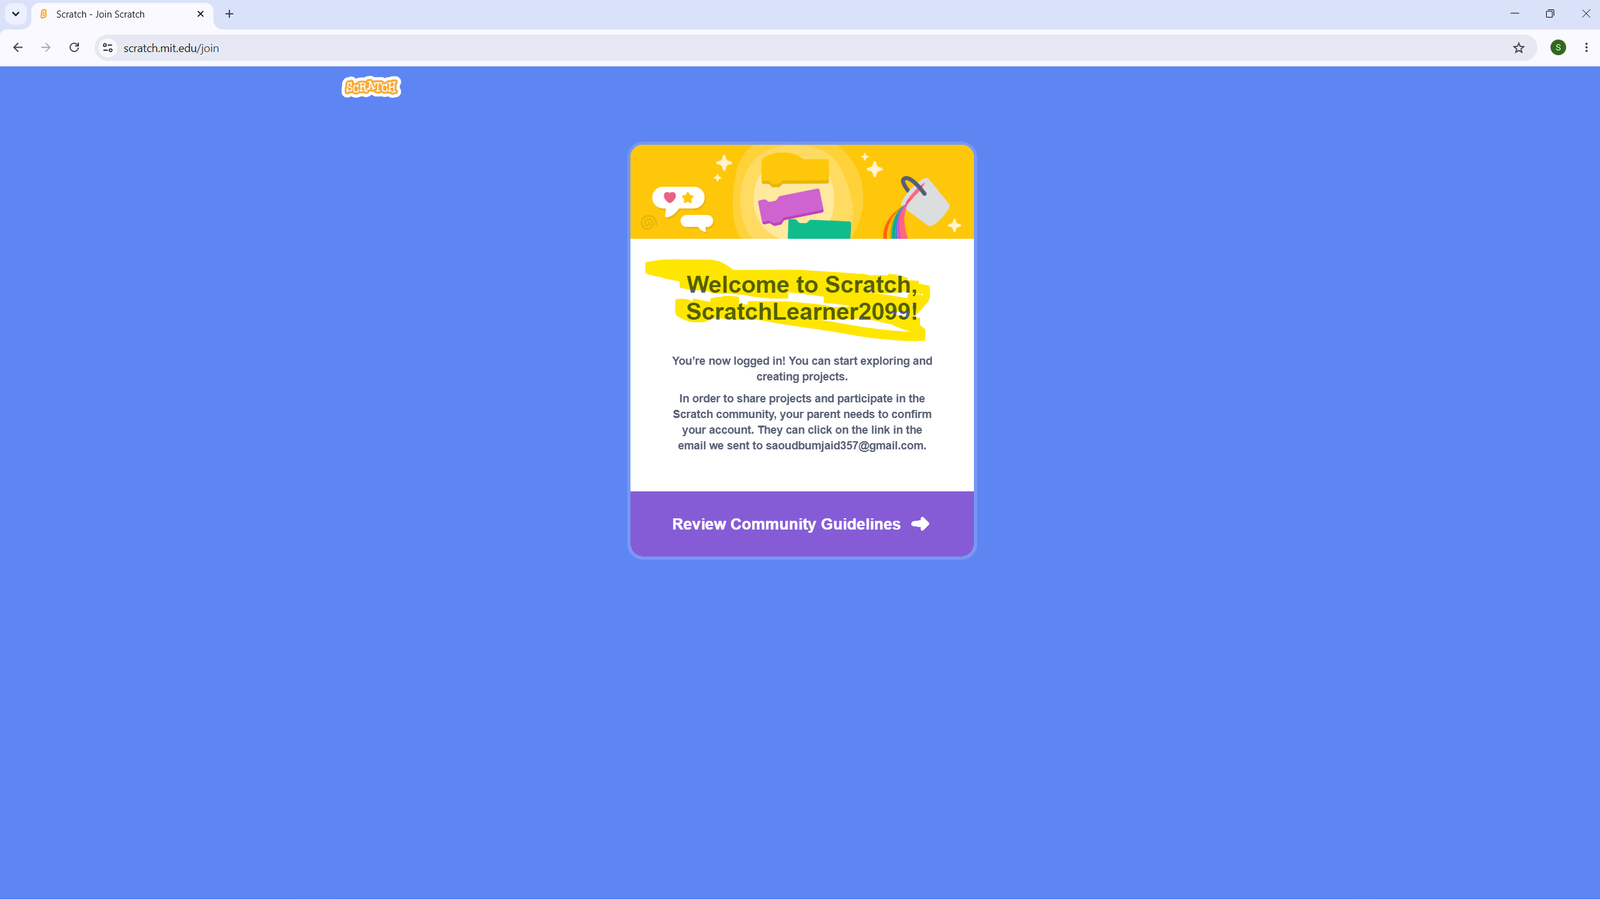
A confirmation email has been sent to the address you entered. A parent or guardian needs to click the link in that email before you can share projects publicly.
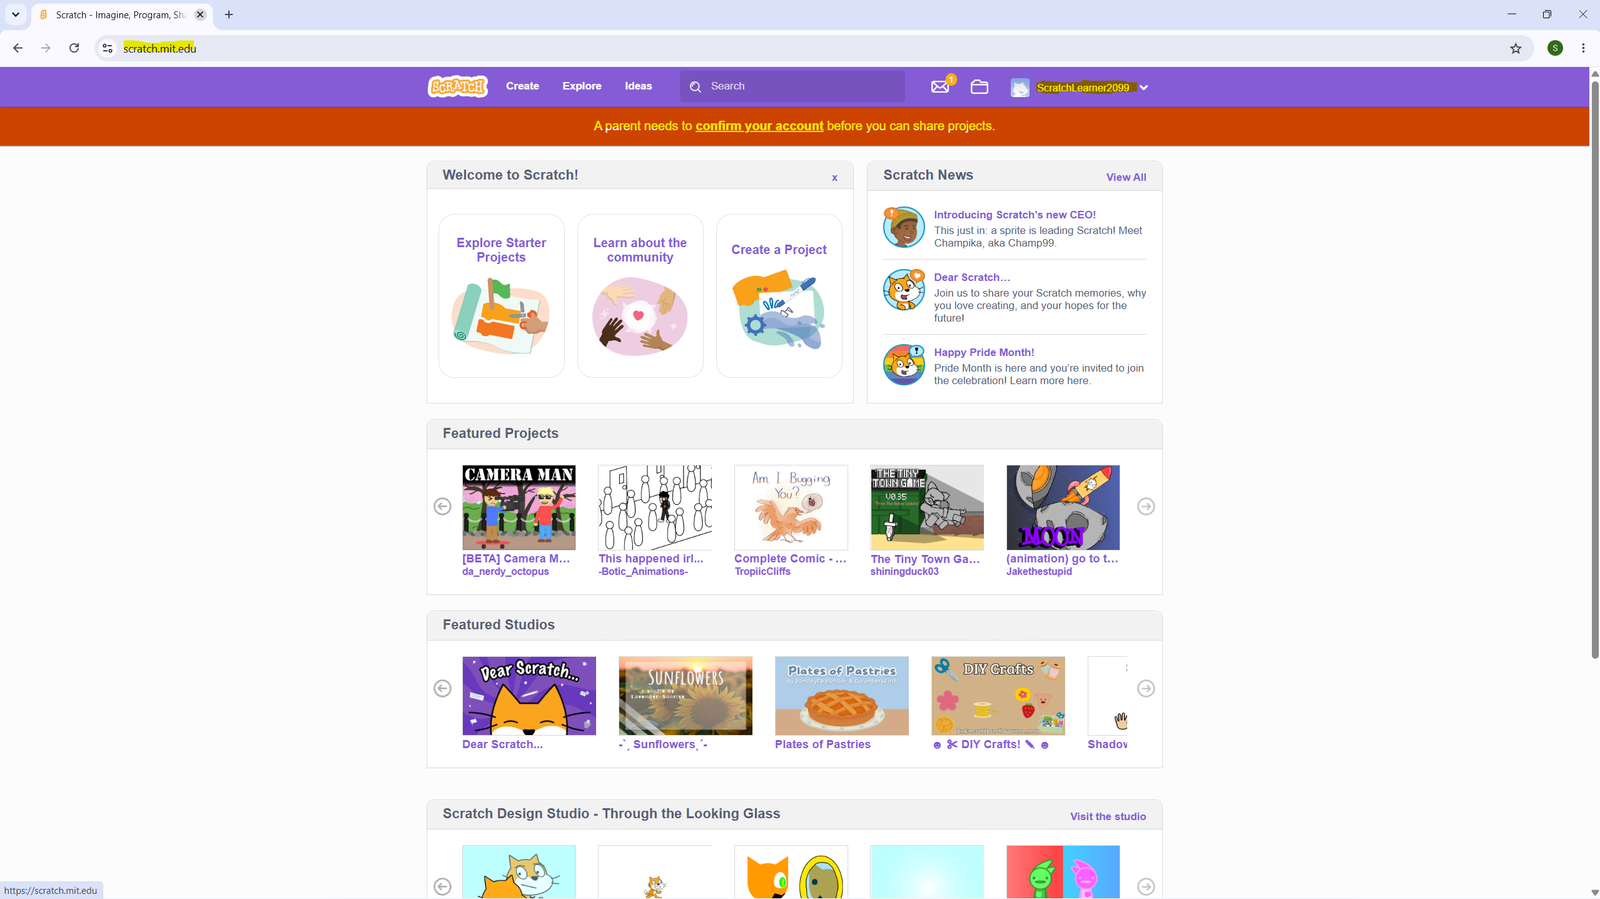
Step 7 — You Are Now Logged In
Scratch will take you to the homepage. You will see your username in the top-right corner — this means you are logged in and ready to start creating!
💡 Tip: No Account? No Problem.
You can still use Scratch without an account by clicking the “Create” button at the top. However, without an account you cannot save or share your projects. We strongly recommend creating an account.
✅ What to Do Next
In the next lesson, we will take a tour of the Scratch editor — the screen where you will build all your projects. Make sure you are logged in before moving on.